Riverside AV instructions
Components
The AV systems in studios 12T and 15T are identical and they incorporate the
following elements:
● Mac computer
● Smart board
● Camera
● Laptop connection
● Mouse
● Keyboard
Passwords
Login credentials for the built-in Mac:
Username: instructor
Password: instructor
Login credentials for WiFi:
Network: Columbia-RC
Password: 91Claremont!
Things to remember
● Please remember to leave the mouse and the keyboard connected to their
power cords at the end of your session. Otherwise they will discharge and you
will not be able to use them next time.
● Please remember that the cart is tethered by its cables to the wall; do not
move the cart far from its spot or you may disconnect it and make it unusable.
● Please remember to awake the computer by typing on the keyboard before
you select it as the input to the smart board.
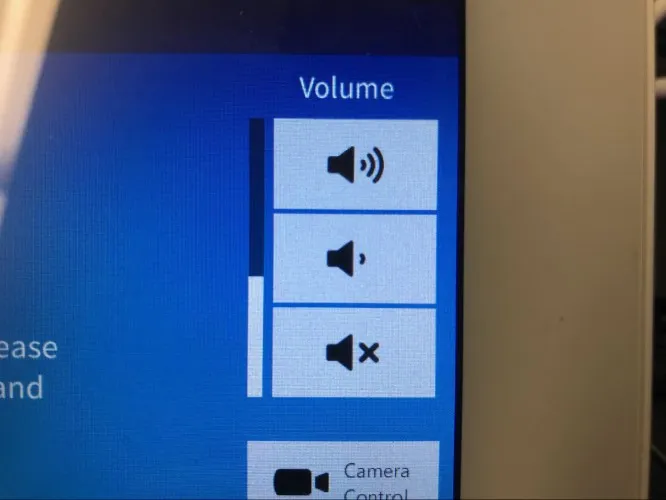
Powering up the system
1. Locate the control panel on the left
side of the smart board.
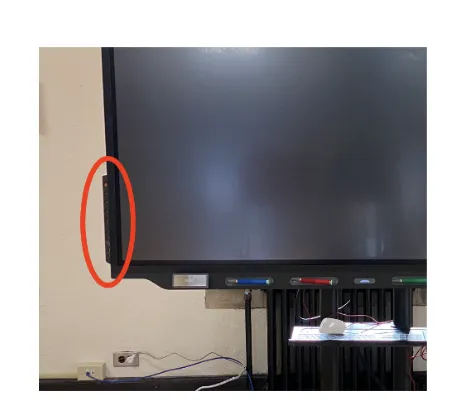
3. Awake the Mac by typing on its keyboard
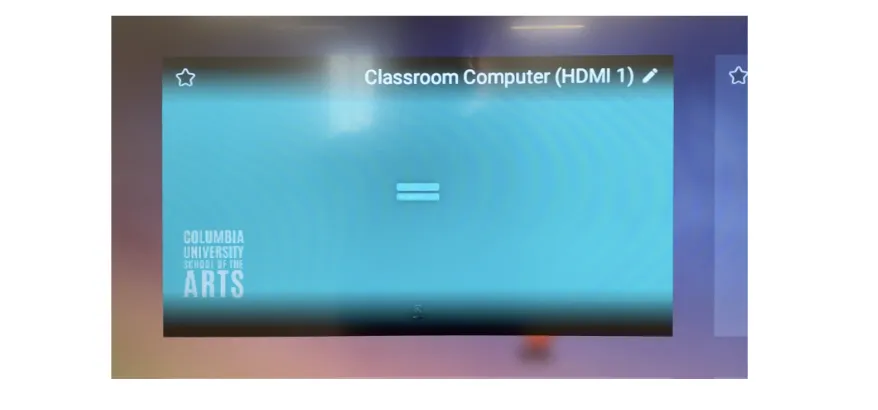
Locate the “Home” button on the center bottom of the smart board and touch it
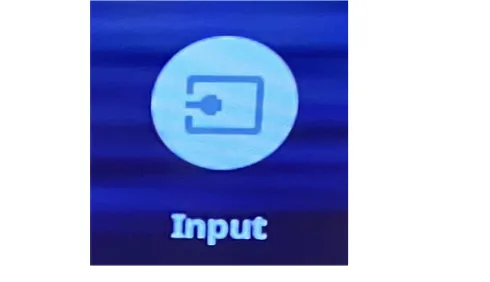
Locate the INPUT button on the screen and touch it.
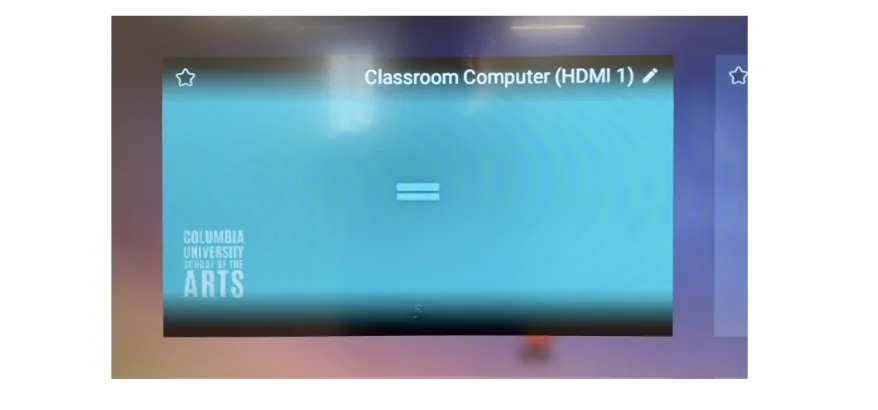
Locate “Classroom Computer” on the screen and touch it.
Log into the Mac
To log into the Mac please enter the following credentials:
Username: instructor
Password: instructor
You may now use Zoom, web browsers, or any other applications on the computer.
Zoom considerations
● After you launch Zoom, remember to
select the speaker (DisplayPort).
The camera and microphone should
already be selected (Avaya).
● You may log-into zoom via
courseworks or the Columbia Zoom
login:
https://courseworks.columbia.edu/
https://columbiauniversity.zoom.us/signin
To use your own laptop computer with the smart board
● There are two cables available to
connect your laptop computer to the
smart board; they terminate on USB
and HDMI. If your computer needs
adaptors to use HDMI or USB, you
will need to carry those with you.
● Please remember to leave the
cables as you found them at the end
of your session.
91. 2. 3. 4. Connect your laptop using the supplied cables.
Locate and touch the Home button on the smart board.
Locate and touch “Input” on the screen.
Locate and touch “Laptop” on the screen.
You should now be able to see the picture
from your laptop on the smart board.
Remember that you will not be able to use the camera atop the smart board while you are using your laptop as the smart board source; the Avaya camera only works with the built-in Mac
Finishing up
1. 2. 3. At the end of your session please log-out of
the Mac
Power off the smart board
Reconnect the mouse and the keyboard to
their power cords